Process Techniques for Athenaeum 2021
Goal
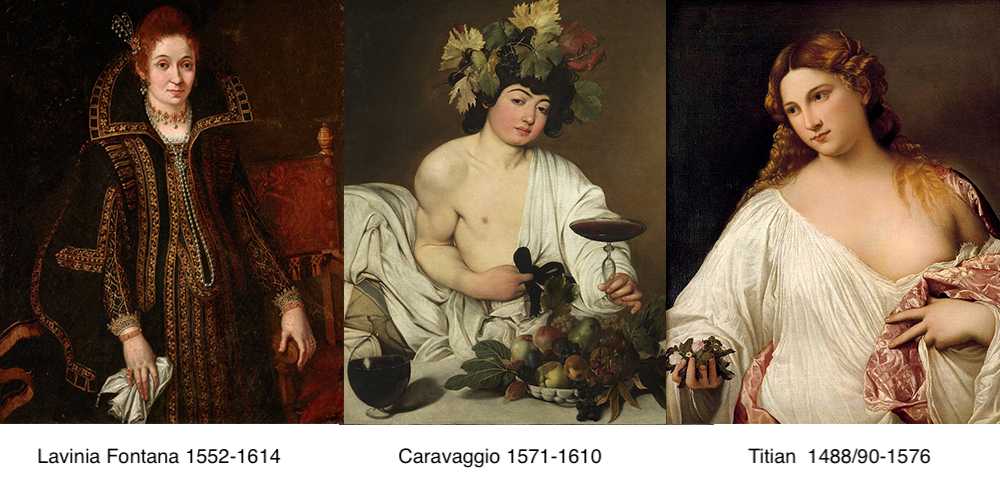
I have been a painter all my life, focused on portrait paintings. In the mid-2000s I studied Rembrandt and did several portraits in his style, but I always used modern materials. When I got into the SCA’s scribal arts I wanted to learn about artists in-period. In 2015 I traveled to Rome and got to see paintings by the Renaissance masters, such as Carrivagio and Titian, and fell in love with their dark, warm hues and studies of emotions. Eventually I plan on painting my own “masterpiece” in the Italian Renaissance style. To get there I need to learn how it’s done. This Athenaeum my focus is the process of making my own canvas and paints.
Research
In the fall of 2020, for the Barony of Three Mountain’s online A&S Championship, I decided to start my research with a little known artist named Livinia Fontana (August 24, 1552 – August 11, 1614) who is generally considered to be the first female commercial artist. For this project I focused on a few areas:
- Who was Lavinia Fontana and when did she live?
- What was going on in the region during the time she lived?
- What was her style and what made her/her art special?
- What resources and supplies would she have had on-hand?
Down the Rabbit Hole – What Sparked the Italian Renaissance and Why Is There So Much Art?

This research was INCREDIBLY FASCINATING. I struggled in my A&S championship not to make this bit the focus of my presentation. In brief, in the 15th and 16th centuries the Catholic church had a big push to get everyone on-board with their religion, which resulted in many horrible things such as more restrictions on women, but it also resulted in a big marketing campaign where various churches would try to outdo each other with their glory… typically meaning MORE art, MORE gilding and MORE work for artisans. Not to be outdone by the churches, the wealthy also wanted to showcase themselves, so they hired artists and artisans to adorn and illustrate their greatness. This competition for art, as well as a new technology that utilized cheap sail cloth linen canvas and oil painting techniques that made paintings not only cheap, but easily transportable, helped facilitate the artist craft from a few masters who typically resided in religious orders, into a booming business with many different schools teaching the trade to students from the middle to upper classes.1, 6, 7
My initial research subject, Lavinia7, was born at the end of this art renaissance, and capitalized on the Catholic restrictions that demanded that respectable women could not sit for a painting by a male artist unless accompanied by their father or husband. Since Lavinia was a woman, she could paint these wealthy patrons; and reportedly had an excellent relationship with many of them, which skyrocketed her demand and reputation.
Venetian Painting Techniques in the 16th Century
Lavinia was from Bologna which taught the Venetian technique6, so that became my regional focus. The painting techniques varied by the artist, but the typical workflow was:
- Prepare a linen canvas using sizing and gesso
- Sketch a design onto the prepared canvas
- Paint a thin underlayer mapping out light, shadow and shape
- Paint the top layer(s) using ground pigment mixed with oil (typically linseed oil) and sometimes beeswax.
- Paints mostly focused on lead white, bone black, various red, green and yellow earths, and red and orange “lakes” which were of a more toxic nature but produced very vibrant hues. Blues were rarely used, probably because of their rarity and expense.3
Experiments
The Copper Experiment
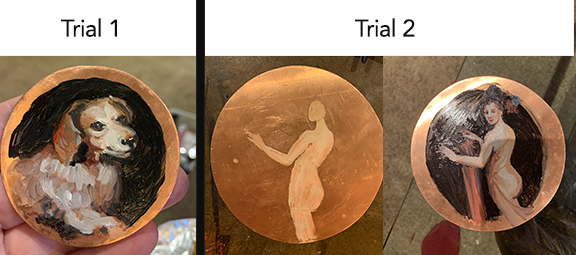
For the Three Mountains Championship I just wanted to focus on how to make my own oil paints and use them. To keep a period aesthetic I painted a couple of reproductions onto copper plate, with mixed results. The oil paints mixed well, and were a lot of fun to make (I felt like a mad alchemist!), but I could find very little information about how to prepare the copper to paint on. Taking a friend’s advice I lightly sanded the copper, then started painting. What I quickly realized was that without a primer/gesso layer, the paints just sort of pushed around, which made it impossible to paint in “lean” layers and made detail work very difficult. At the end of this experiment I had two partially completed paintings on copper and a desire to try my hand at canvas.
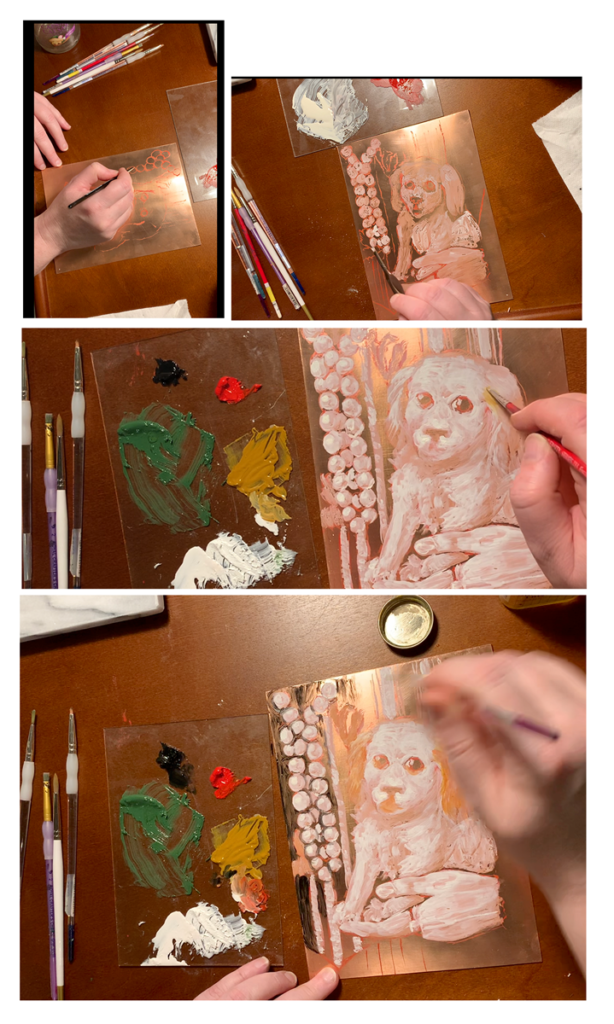
Oil on copper – process 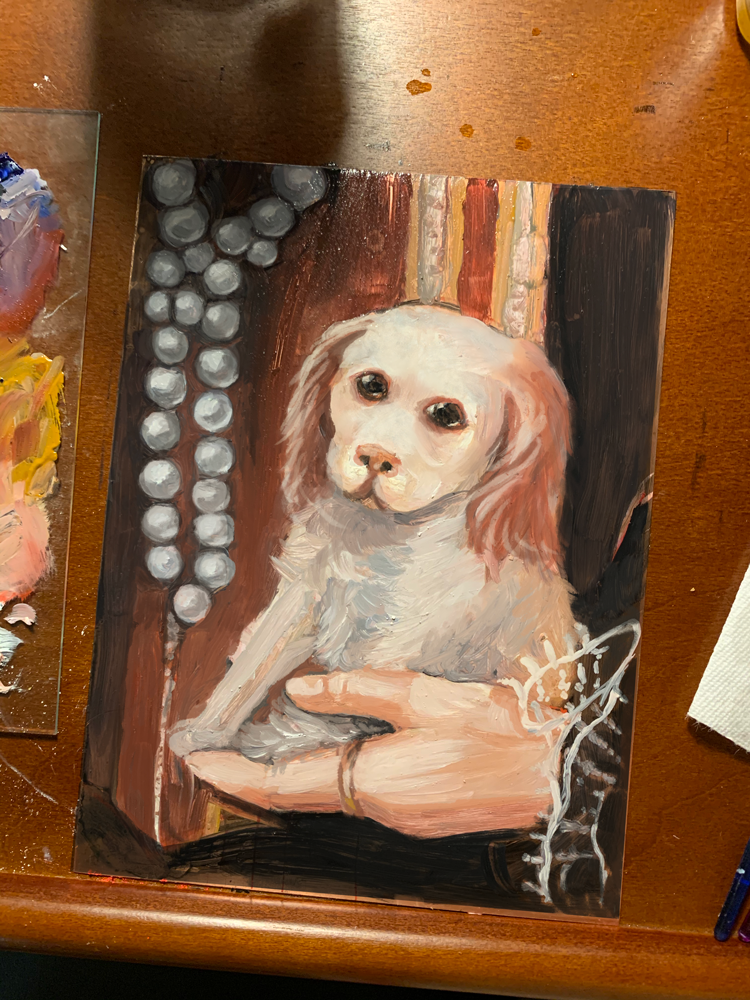
WIP
I have since learned1 that the Italian masters would prepare their copper plates by first lightly abrading it (otherwise your art will turn green!) then applying a thin oil or gesso layer. Once that is dry, then it can be painted on.
The Canvas Experiment
Next up was taking my art to a canvas, so I started researching 16th Century canvas making techniques. What I learned was:
- Canvas was heavy linen, tacked over a “stretcher bar” (a wooden frame, probably tongue and groove)1, 2
- The purpose of the stretcher bar was to keep the fibers tight and the surface flat while preparing1
- Linen must be protected with a glue/water mixture called sizing, otherwise the oil will eventually destroy the fabric. 1
- There are a variety of different methods of creating a gesso as the 16th century was a time of a lot of experimenting.1
Making the Canvas – Sizing
Making and applying the size was easy. I picked Rabbit glue as my medium. The recipe I found said:
70 parts (70 gm) glue to 1,000 parts (1 liter) water1
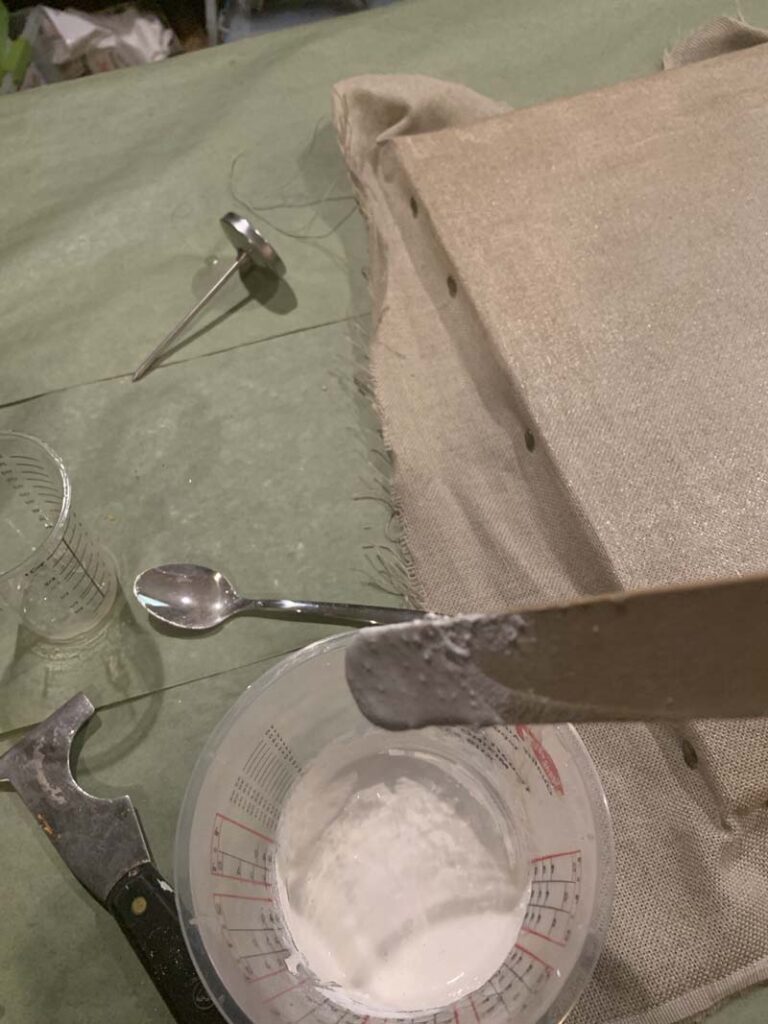
I also found a couple of neat videos. This one is probably more accurate, but I don’t have a scale. I liked how this one actually showed how to prepare the rabbit glue by measuring out dried glue in a cup, doubling that amount with water, letting that sit for about an hour until the glue swelled, then doubling that amount, heating it up to 135 then painting it on. Easy and it worked well. As suggested in the second video, I applied 3 coats and let it completely dry.
Making the Canvas – Gesso
“The Materials of the Artist and Their Use in Painting“1 has a huge section on how to make gesso and a lot of observations on how the masters prepared theirs. My takeaway was that there wasn’t an exact answer although the basic recipe was generally the same. Also, avoid resins*, soap and turpentine* as they have bad long-term effects on the art..
*”resin” and “turpentine” were referred to interchangeably and it was incredibly popular for artists of the period to use them either as a final protective shellac, or mixed in with the oils to give the art a shiney and luminescent appearance that oil paintings are known for. The problem is that most art created with resin eventually turns brown or black.1 Most paintings we see from back in that era have had considerable restoration done to remove this darkening, and even then most are still “yellowed” from the resins and linseed oil. For this reason alone, I was unwilling to add resin to my paintings (maybe later, but not now).
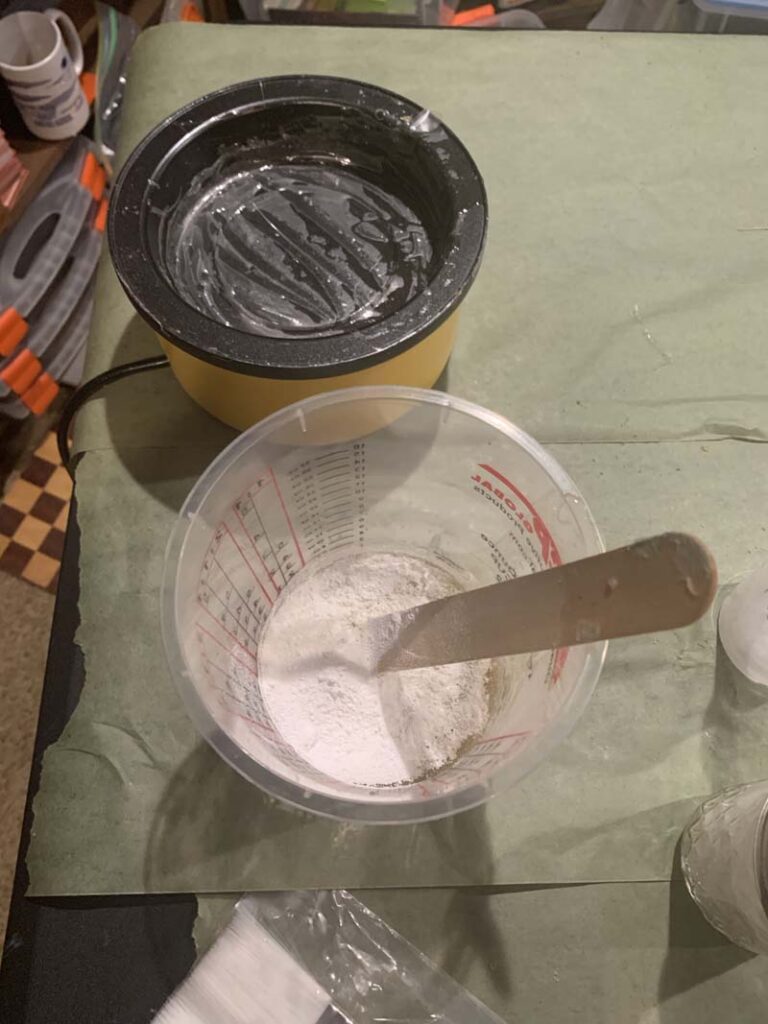
Basic Gesso Recipe1
Equal parts:
* Chalk/gypsum/marble powder
* Tint (white or earth)
* water/glue mixture
The Materials of the Artist and Their Use in Painting
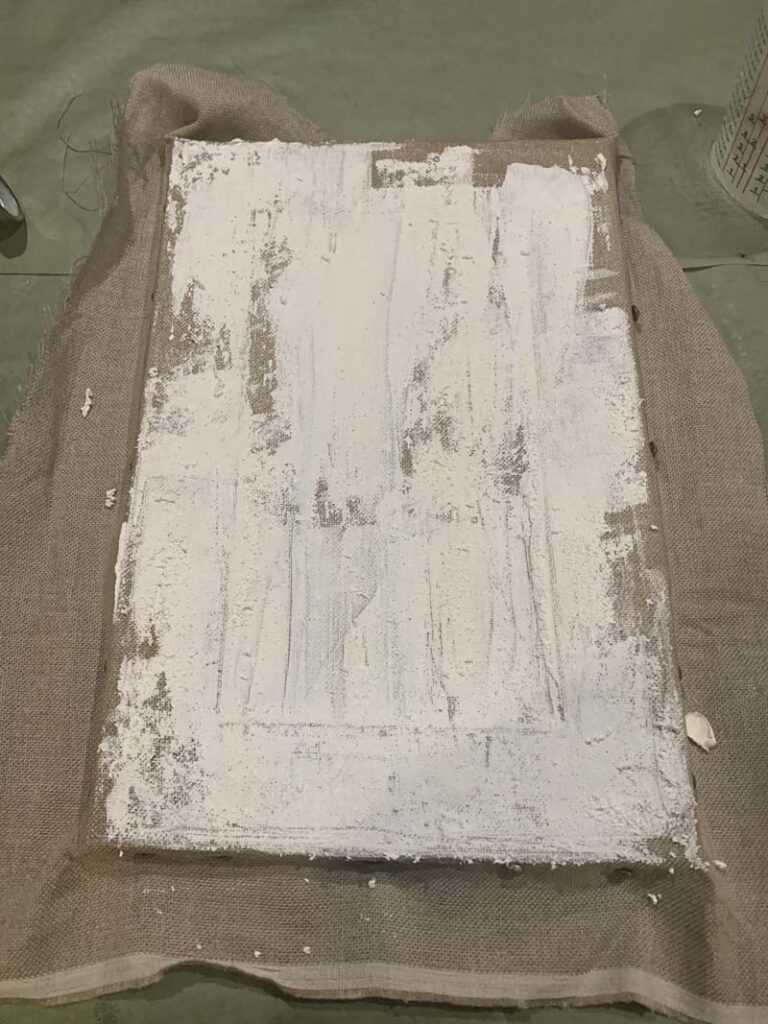
Combine the chalk and tint, then add enough of the glue to moisten the dry ingredients. Mix like you would a cake batter. To this add the rest of the glue and combine. If the mixture is lumpy, run it through a sieve and strain out the lumps.
A bit further in the book the author discusses the oil ground and mentions that oil painters frequently preferred that to the standard. This recipe is as follows:
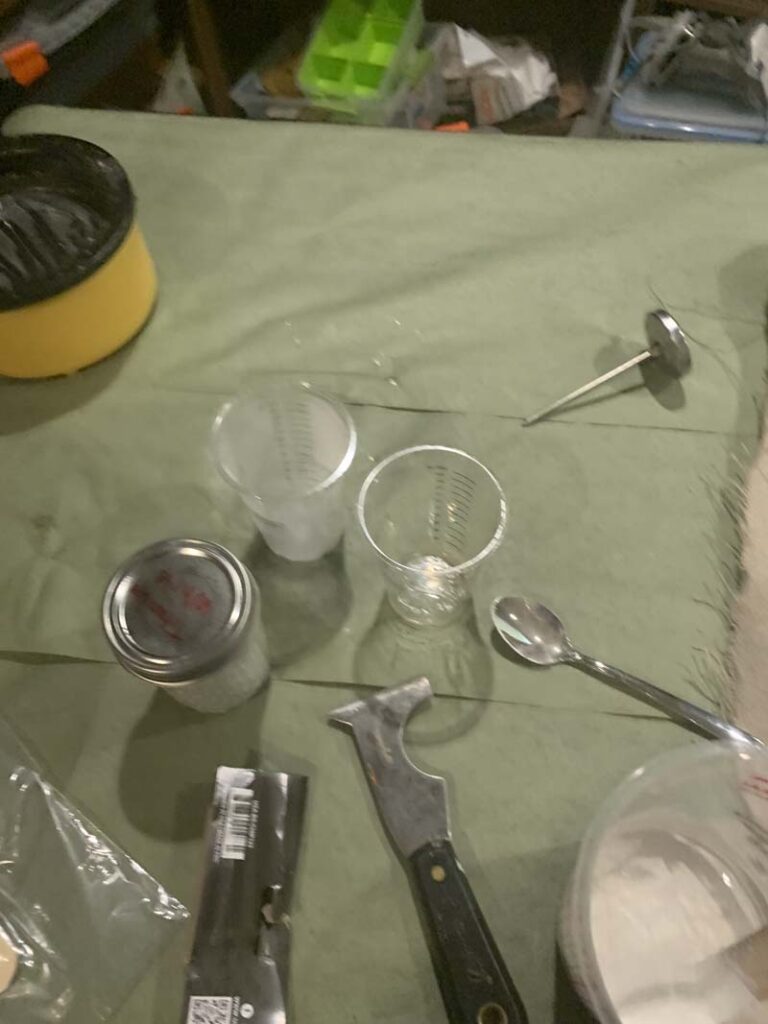
Oil Gesso Recipe1
Equal parts:
* Chalk/gypsum/marble powder
* Tint (white or earth)
* water/glue mixture
* Up to two parts boiled linseed oil
The instructions are generally the same as the basic recipe, but the author notes: “Immediately after grounds of this type are applied, they must be scraped smooth with a spatula so that each coat is very thin.“1
I got conflicting information on the tint. Most of the recipes called for “Lead White”. There were also quite a few references to Italian artists using “red bole” pigments. I didn’t have “red bole” or “lead white”, but I did have quite a bit of Titanium White and some Red Ochre. I decided to use the titanium white in the first two applications, and add the red ochre to the 3rd.
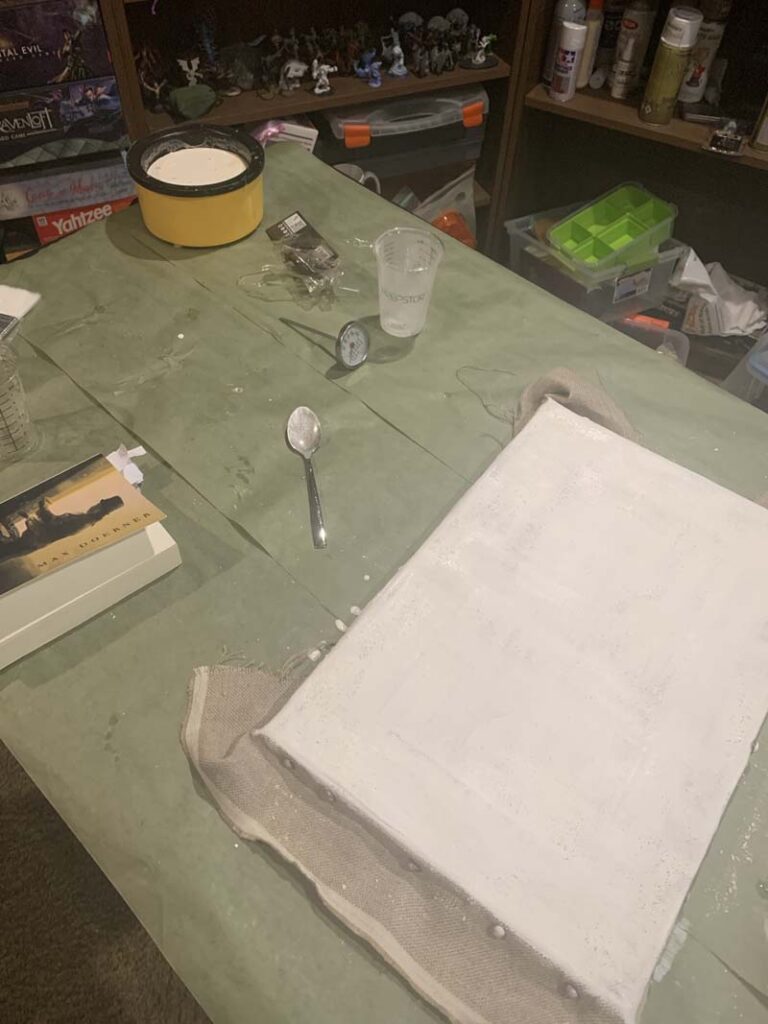
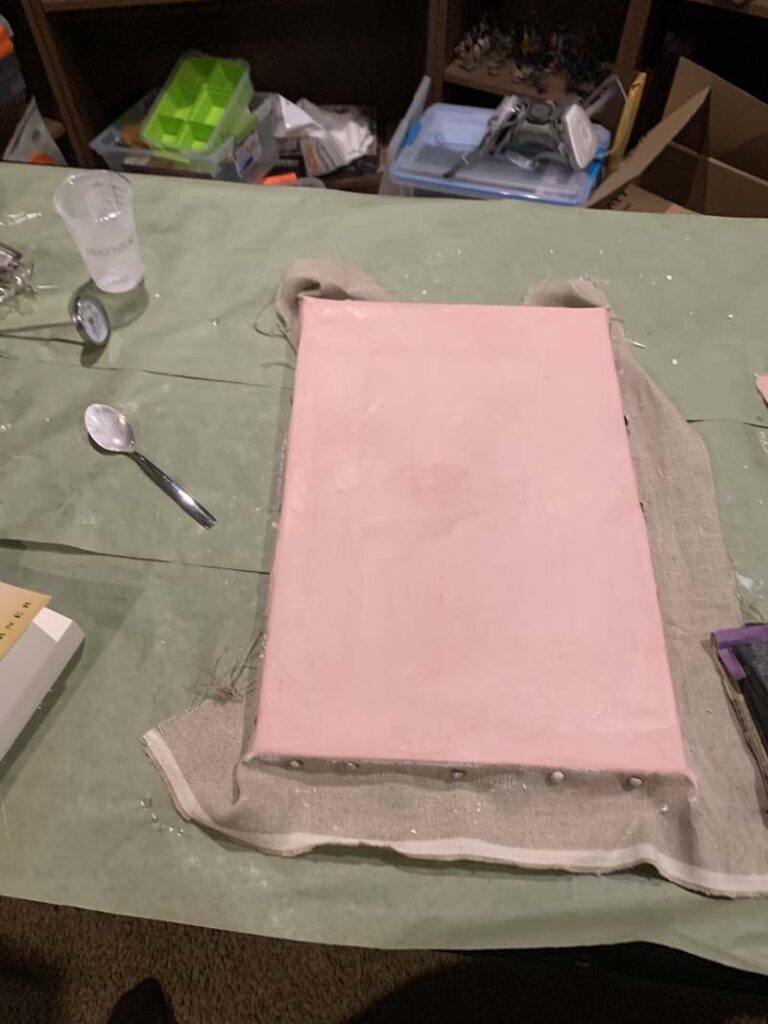
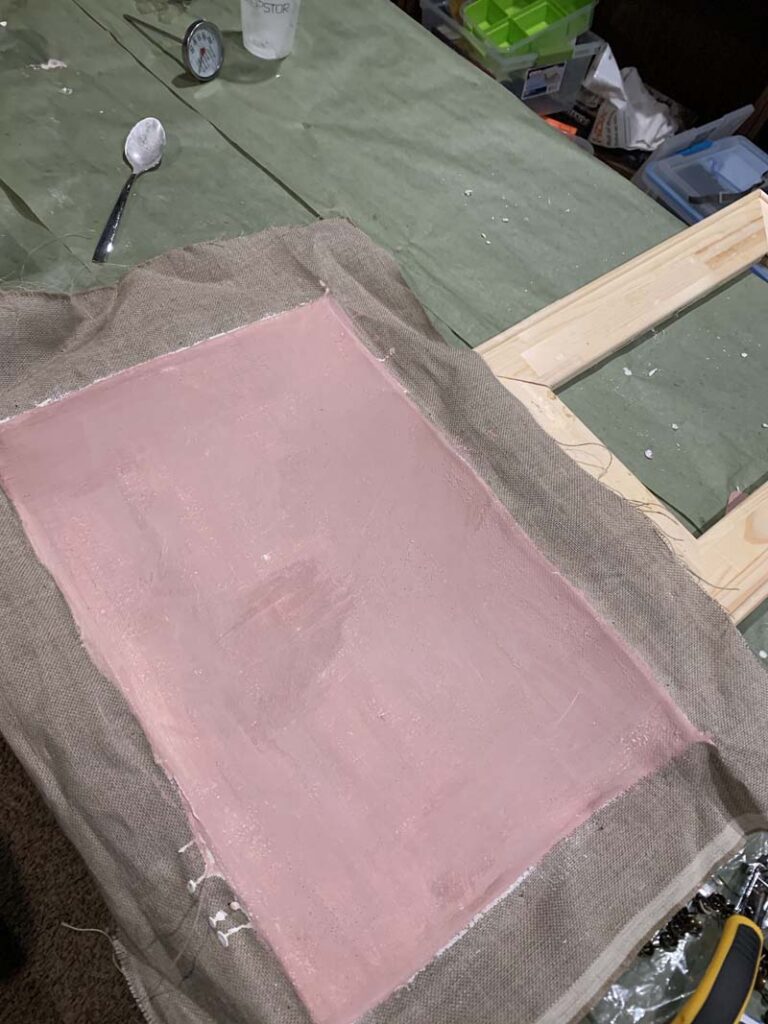
For my experiment I went with my rabbit glue/water mixture, marble dust (typically used by the Italians in this era), pigment and cold pressed linseed oil, which is harder to get now, but more common back in Renaissance Italy. The mixture went fine until I added the oil. The moment the oil touched the gesso it started thickening and rapidly drying. The result had to be scraped on with a painter’s knife and was too thick to smear or scrape off. I did the best I could, then let the mess dry. The next day I sanded the heck out of it until it was smooth. Then I created another gesso mixture, this time WITHOUT oil and it worked great. A few hours later I sanded this coat, then added the red ochre to the remaining gesso and applied that to the canvas. Once dried I pulled the canvas off the stretcher bar to 1) make sure it would roll and wasn’t going to crack and 2) to make sure that the gesso hadn’t seeped through the sizing (if it does, then your oils will get through too).
Results
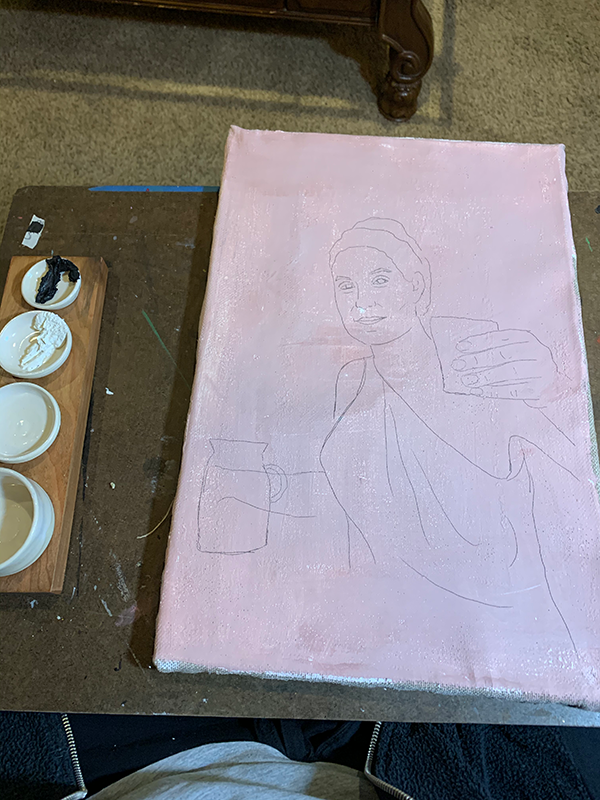
The Good – it was generally easier than I expected and the result is a very smooth, easy to paint surface. Much nicer than a modern canvas!
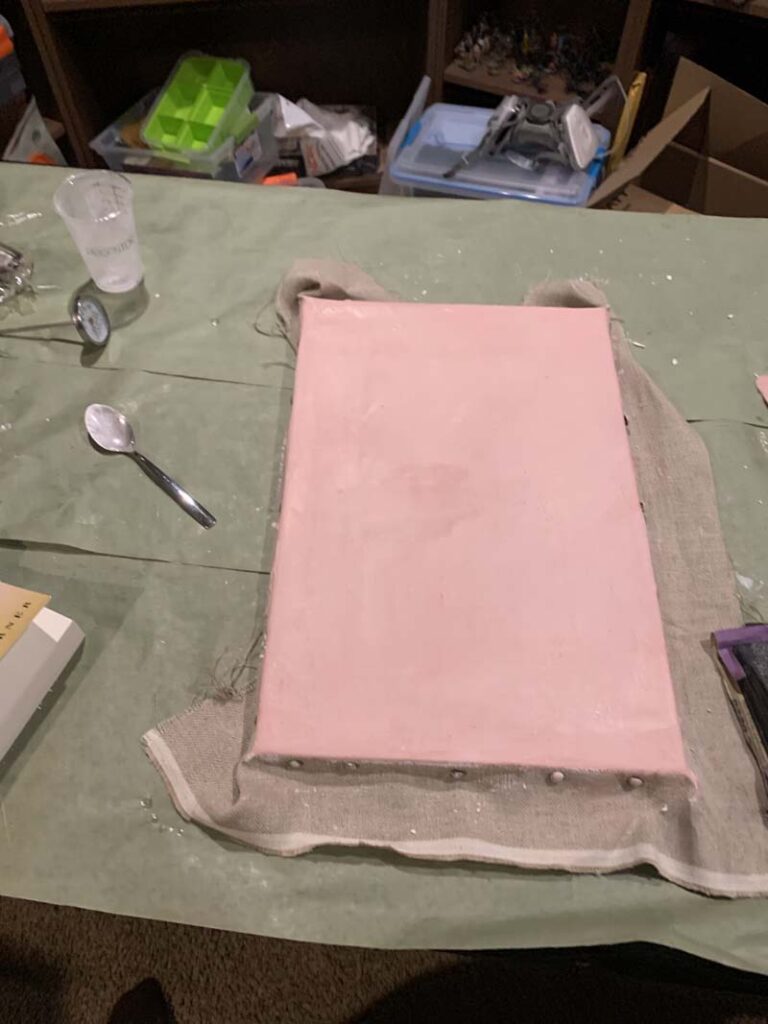
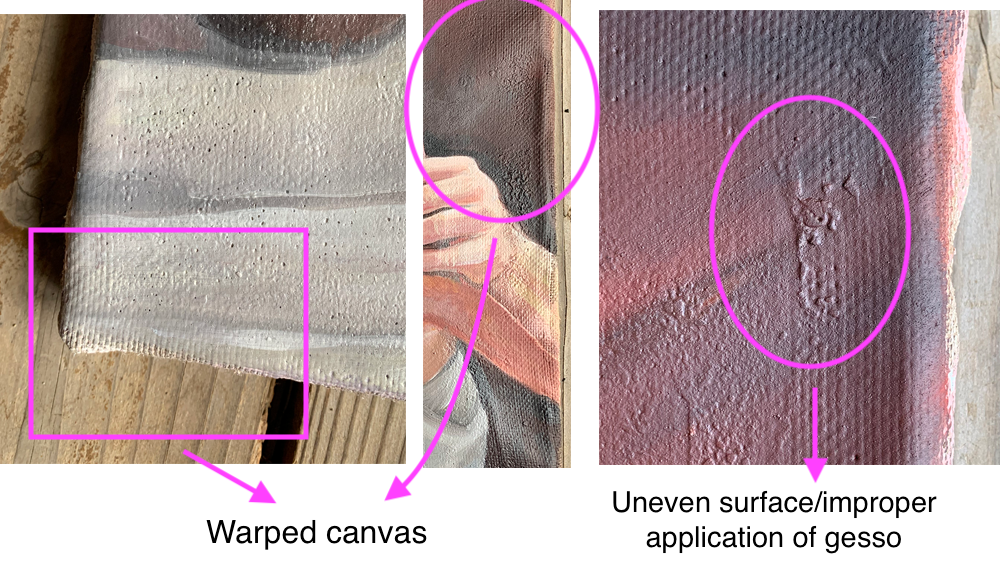
The Bad – Rabbit glue stinks. Red Ochre mixed into Titanium White is pink and not what I was looking for. I need to just use either red or white. Also, I messed up on the stretching when I put it back onto the stretcher bar and now the canvas is warped in a few spots.
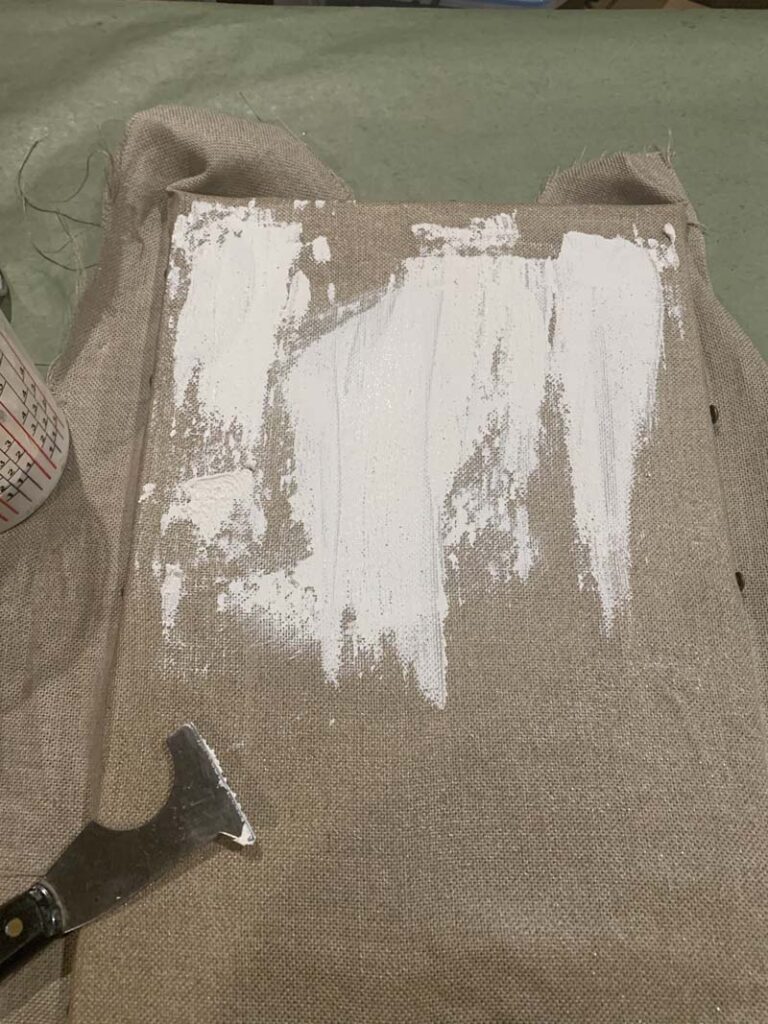
The Ugly – I either didn’t do the oil/gesso mixture correctly or it’s just a BAD idea. It nearly destroyed my canvas. I managed to “fix” it by heavily sanding it once it dried but it is still damaged (see “mistakes”).
Takeaway – Don’t mix oil into the gesso. Use the rabbit glue in a ventilated area so your spouse doesn’t freak out because the house now smells like a dead animal. Pick a tint and stick to it. Don’t remove the canvas from the stretcher bar “just to see”.
Making Oil Paints
Making your own oil paints is surprisingly easy. Even easier than making gouache!
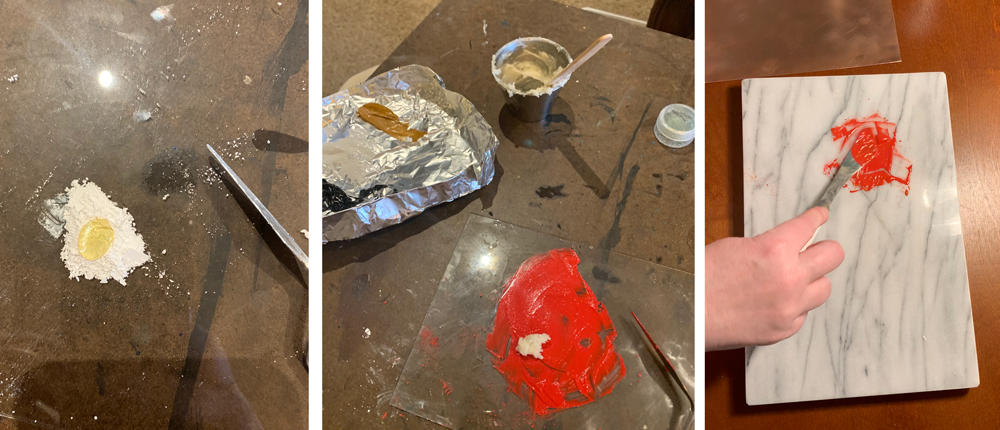
Oil Paint Recipe:
* Ground Pigment
* Oil (Linseed or grape seed)
* Flat-bottomed muller
* Palette knife
* Hard, flat surface such as a marble slab or glass
* Optional: beeswax melted in turpentine and mixed with oil
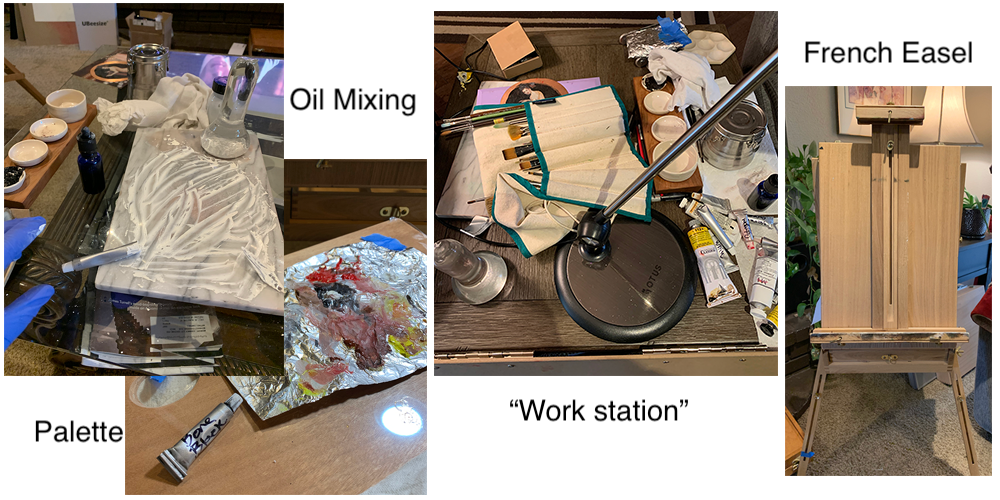
Pile a smallish amount of the ground pigment on your flat surface and make a divot in the top. Using an eye-dropper add in oil and gently mix with the palette knife until all pigment has become wet and has a heavy cream consistency. Using the flat-bottomed muller (or palette knife if you don’t have one), grind the paint and oil mixture across the smooth surface, using the palette knife to occasionally scrape and re-mound the mixture. Optionally, you can also mix in a very small amount of beeswax melted in turpentine and mixed with oil to improve consistency and help the paint maintain cohesion (necessary for some grounds).
Experiment – Painting with my hand-mixed oils on my prepared canvas
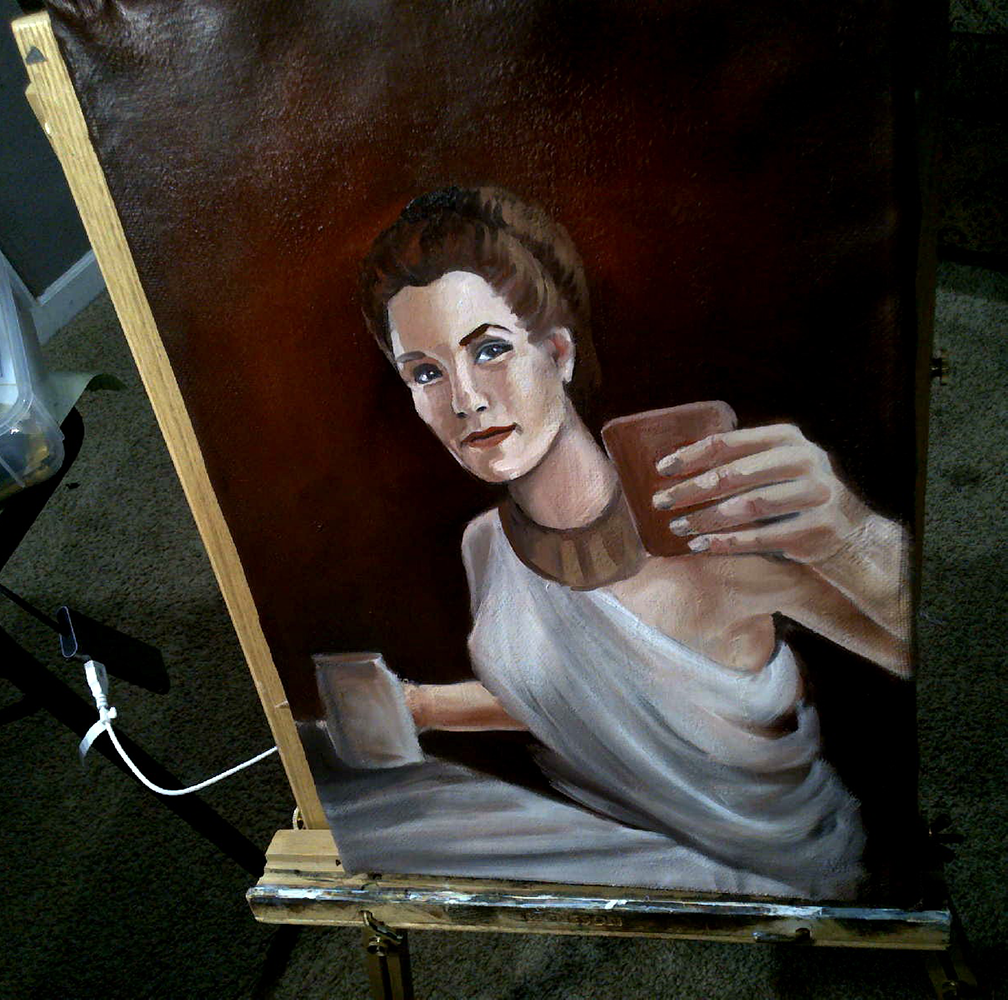
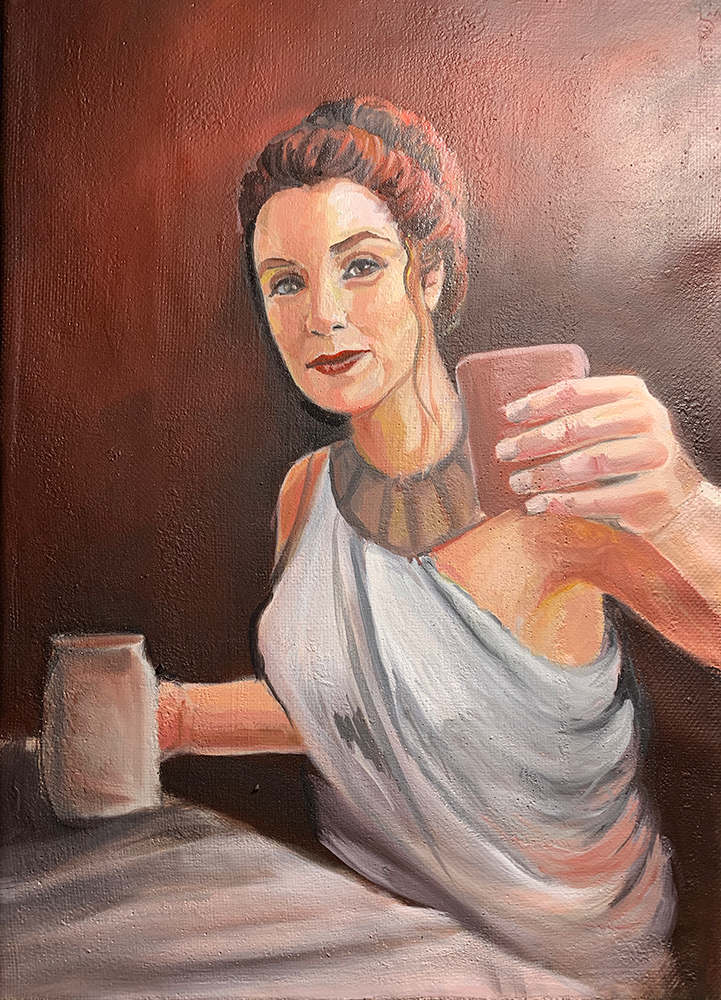
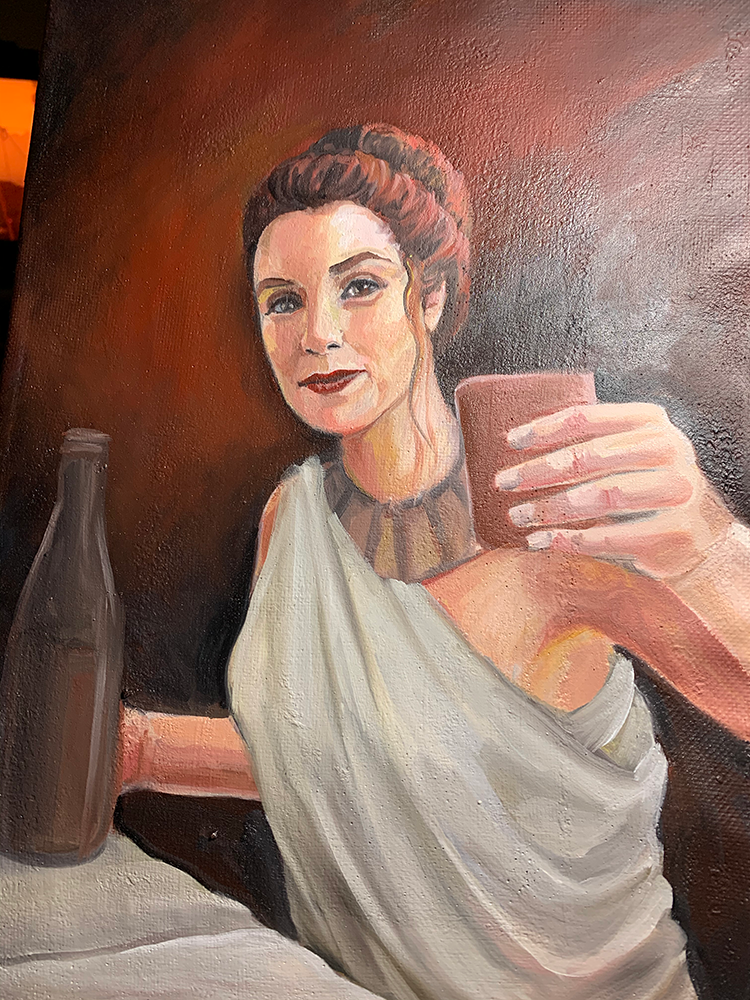
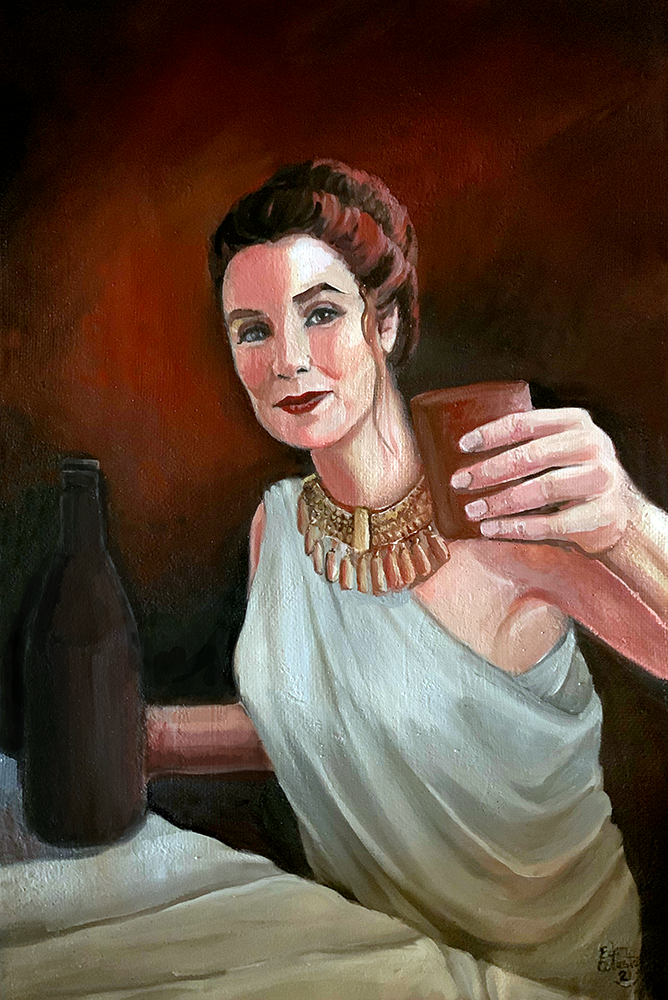
In March of this year I lost one of my best friends to cancer. Painting her for my project seemed like the only choice I could make. This meant that I had to use photos rather than have her sit for me (or even have her sit for a photo). In keeping with the Italian Renaissance theme I wanted to depict her in “white drapery”, but I also wanted to capture her personality. A painful review of random snapshots I had taken of her in the past presented two that worked. Using these as my “model” I mocked up a sketch and a shadow and light study.

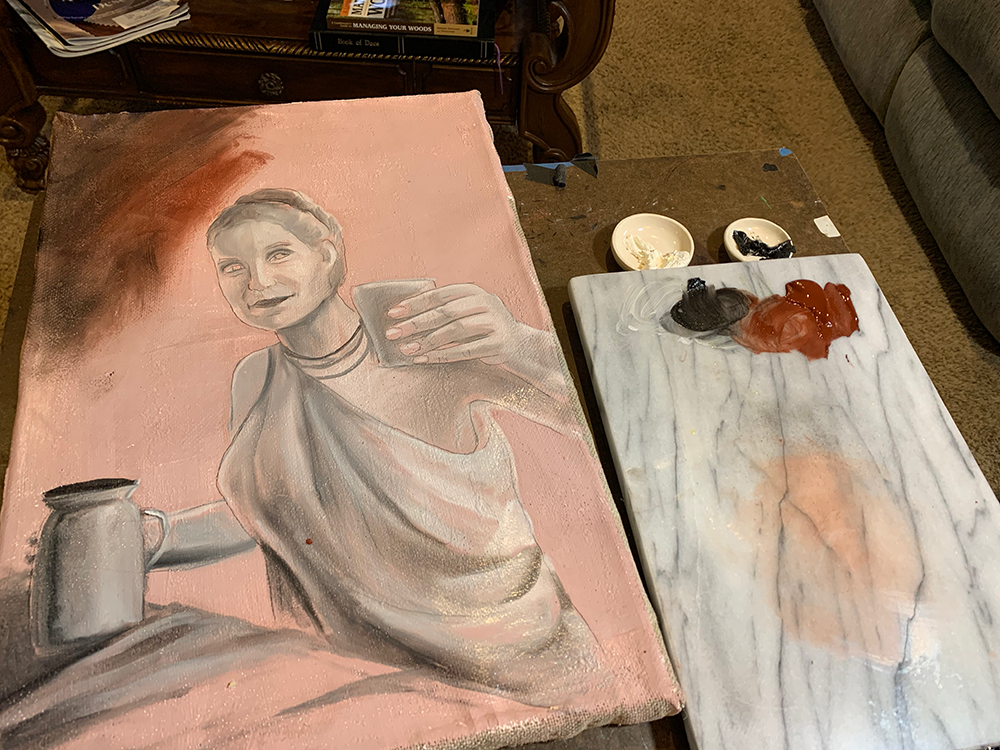
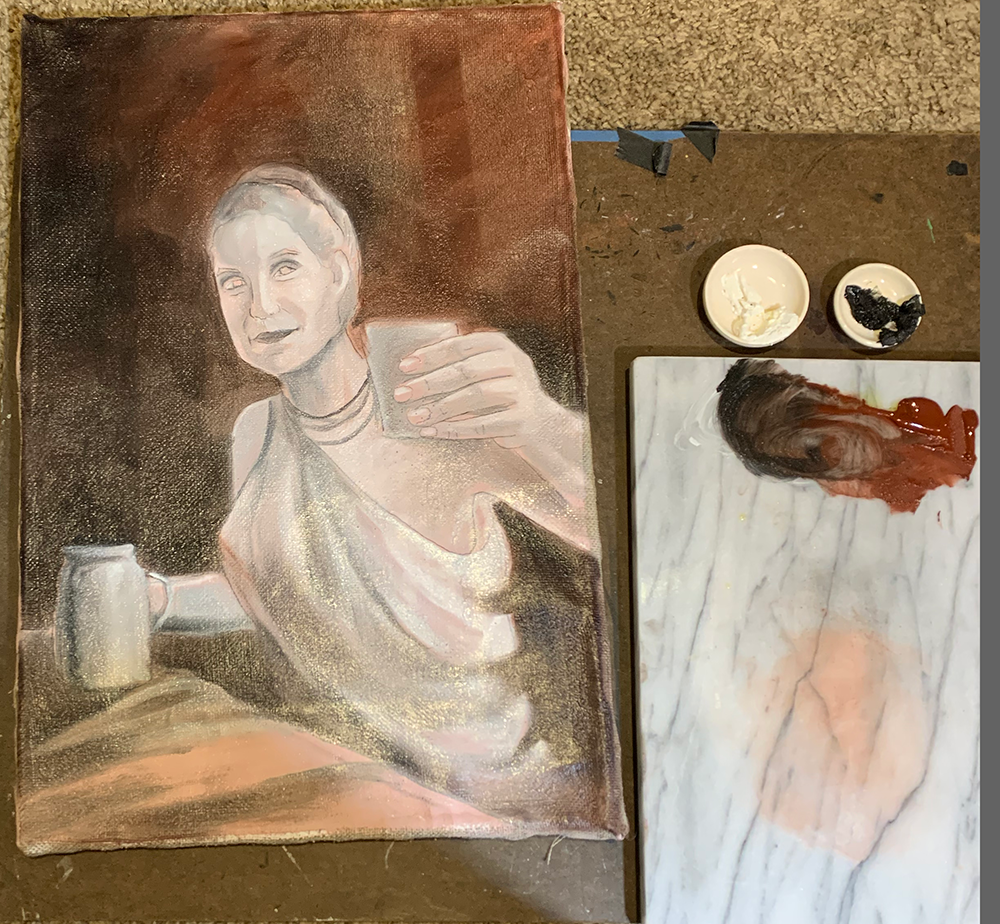
Once I had the pose figured out I transferred it onto the canvas in carbon. I then copied my shadow and light study onto the surface using a version of gouache mixed with linseed oil. When that dried (about a day later) I started adding color. As you can see by my mid-process examples the portrait spent a period of time not looking like my subject. I also ended up changing the “jar” to a wine bottle.
Discoveries
- Making oil paints is VERY easy.
- Hand-made oils, painted in “thin” layers, dry FAST. It only took 2-3 days for each layer to dry. This answered my question of “how could Renaissance artists commercially paint? Did they have a warehouse where paintings were cured for months?”
- Some paints, such as bone black, is very transparent and difficult to use over a “covering” color like Titanium White.
- “Lead White” is now called “Cremnitz White” (or if you want it with Zinc it’s called “Flake White”) which can be fairly easy to find prepared, and can still be bought at Kremer Pigments4 for educational use (wish I knew that in time to get some for this project!). It has a “warm” tone, is fairly transparent, and blends nicely with other colors.
- EVERY little imperfection in the canvas shows. For this style of art the canvas should be smooth with almost no texture.
Mistakes
Up Next
There are a variety of aspects that I could study next: making paint brushes, finding my own pigments, character studies; but what interests me the most is picking one or two artists, such as Carravagio or Titian, and doing a study of their technique – how they blended colors, how they depicted their subjects, how to recreate their skin and clothing tones, and make my own painting using that style. For this next one I will work from a live model for at least part of it.
CHEERS!
Citations & Sources
- Doerner, Max. The Materials of the Artist and their use in painting, Harcourt, 1984
- Stretchers and Strainers
- Berrie, Barbara. Matthew, Louisa. 12 Venetian Colors – A scientific look at paint in 16th Century Venice, National Gallery of Art and Kunsthistorisches Museum, 2006
- Kremer Pigments
- Cennini, Cennino d’Andrea. The Craftsman’s Handbook, 1954
- Vasari, Giorgio. Lives of the Artists. Oxford University Press, 2018
- Freedberg, S.J. Painting in Italy 1500-1600. Yale University Press, 1970


