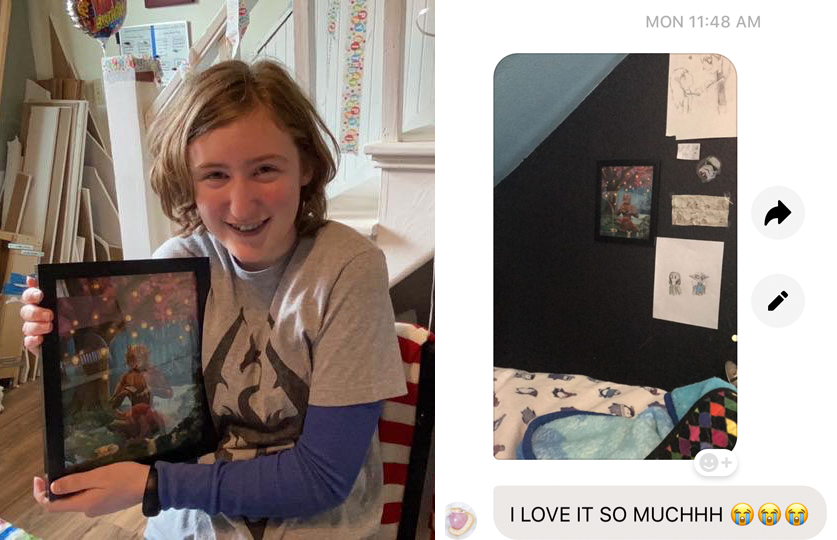
My niece turned 13 this year and she had a special birthday request for me: would I do a piece of art for her of a Manga character she created? I have created hundreds of pieces of custom art for clients over the years so I immediately switched into Job Mode.
Step 1 – Get an overview of the job.
- “Aunt Eden I know you are a good artist, would you create a piece of art for my birthday of my character Diablo?”
- “That sounds like so much fun! But you know that I’m not a Man… Magma… Mannnga (however you say that) artist like you.”
- <laughing> “Aunt Eden it’s MANGA. And that’s okay. I want it in your style.”
Step 2 – Gather requirements
- “Can you please IM me as much information as you can about Diablo? And send me some of your favorite pictures you did of him!”
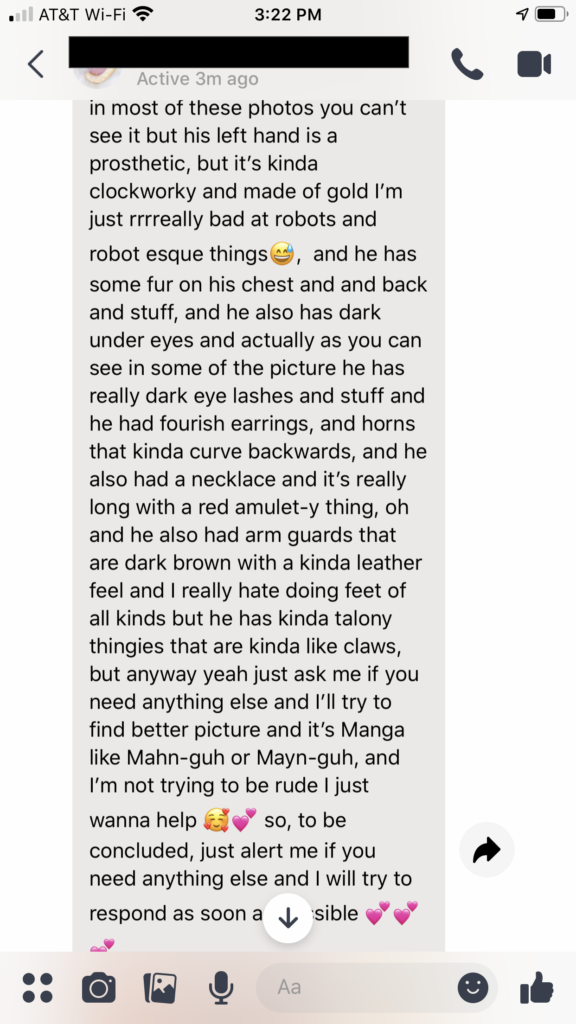
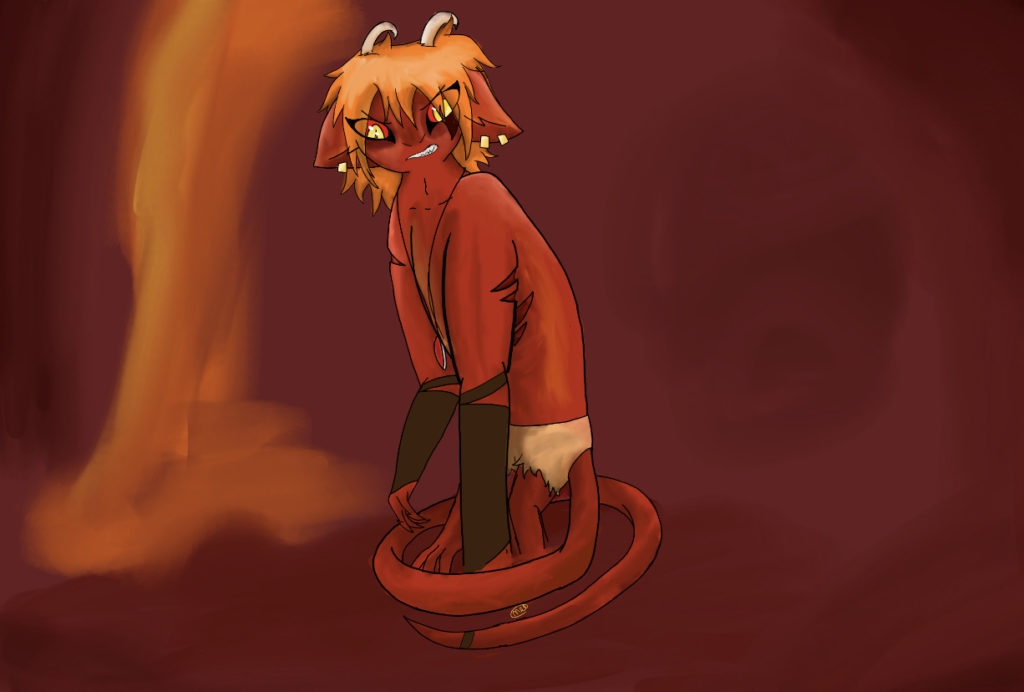
Step 3 – Get client buy-in
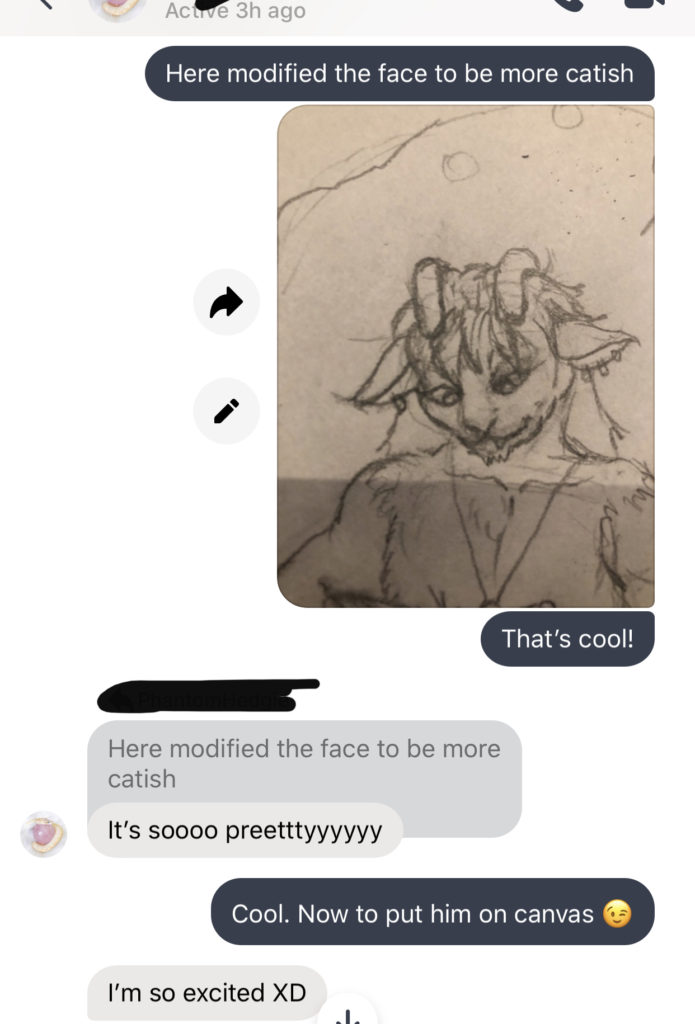
With enough information to begin, I started the sketch. I’ve learned from long years of doing work for clients that the best way to avoid numerous revisions of completed art is to get buy-in during the preliminary design stage. If this was a web or phone app design I would have created a wireframe of the features and an overview of the workflow. Since this was going to be a painting I created a sketch of the character. But I had one complication – this was for a birthday present and I wanted it to be a surprise. So I compromised. I cropped out just the critical bit – the face – and send it to her for her review.
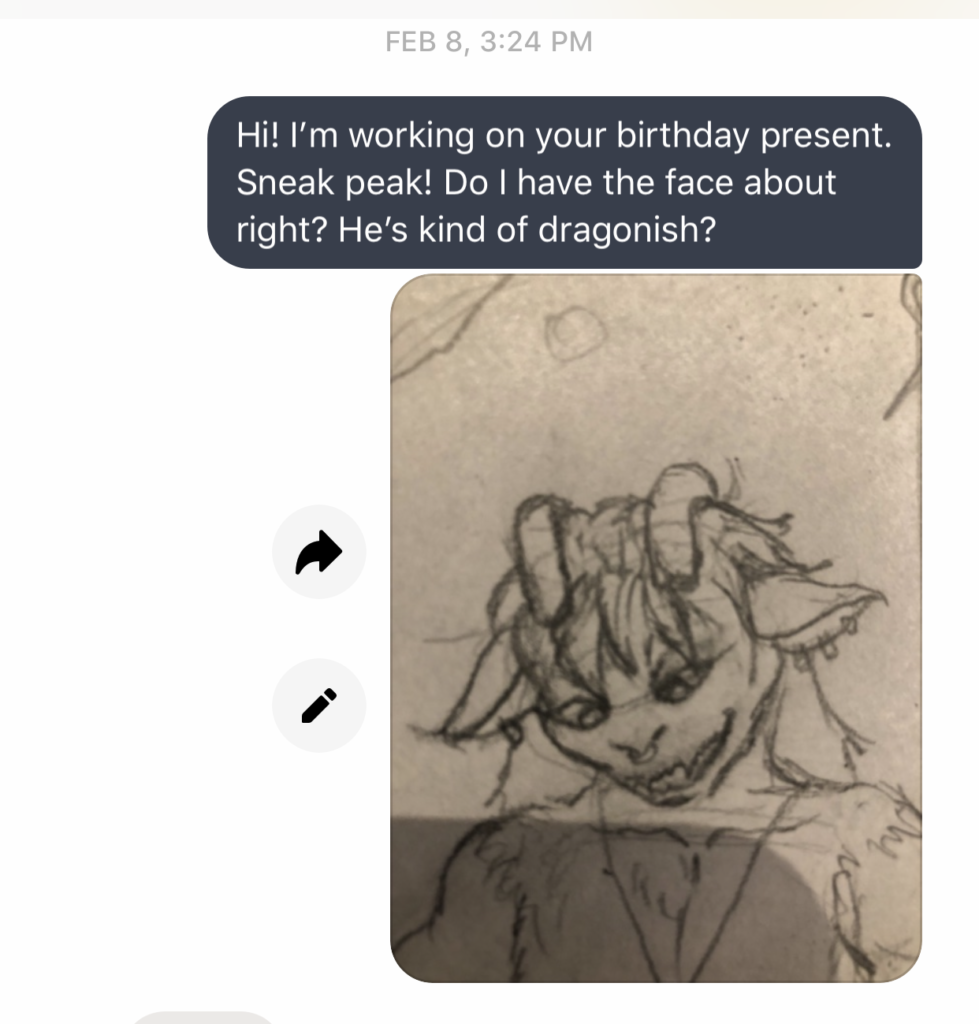
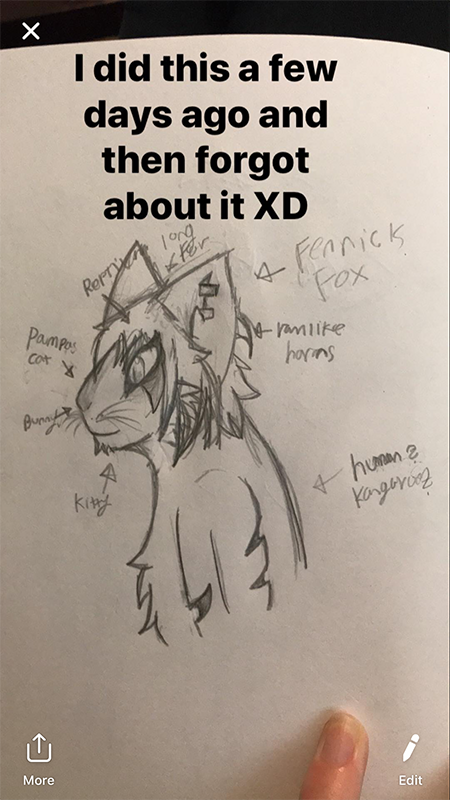
Good thing I asked! Turned out I misinterpreted the mouth portion.
Step 4 – Revision and re-submit
I have never – NEVER – had a client accept a sketch as-is. Even ones that very much want to not make trouble. This can be because any of several reasons, including:
- They didn’t fully communicate every nuance from their mind’s eye and didn’t realize they missed something until they saw it on paper
- Once they see their idea on paper they realize that it wasn’t quite what they were hoping for
- I missed something or misinterpreted something
A long time ago I decided that when working for a paying client I’d give them one revision for free, then charge for each revision thereafter. This cuts down on a lot of annoyance as it gives clients incentive to list every change they need up-front.
Since this was for my niece’s birthday, I was willing to do whatever it took to get it just right.
Step 5 – Do the work
At this point I had my requirements, stakeholder buy-in and due date. Time to get to work!
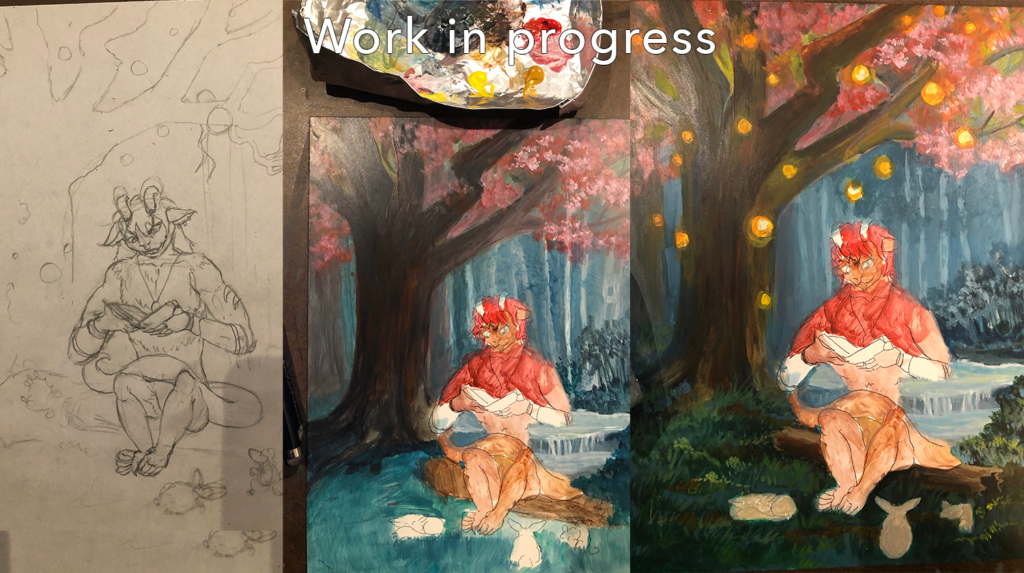
Step 6 – Check in with progress pics
If I had been working for a paying client, or if it hadn’t been a surprise present for my niece, I would have sent this nearly complete version over to her for a check-in to make sure I wasn’t making some major blunder, such as using the wrong color on his fur.
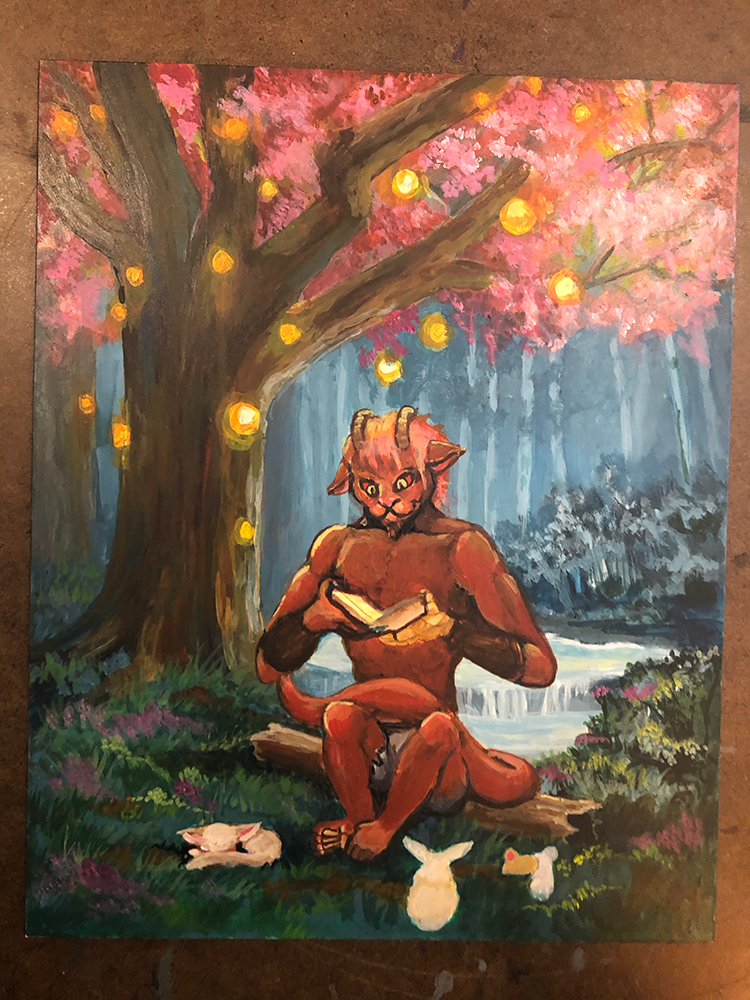
Step 7 – One final check-in
When working with a paying client, I send them a photo or scan of the final piece. If the client was paying ‘half up front, half on completion’ I will watermark the artwork before sending it. Changes are not expected at this final stage, but it’s better to know before anything is shipped. Since this was a birthday present for my niece, I just crossed my fingers and hoped I got it right.
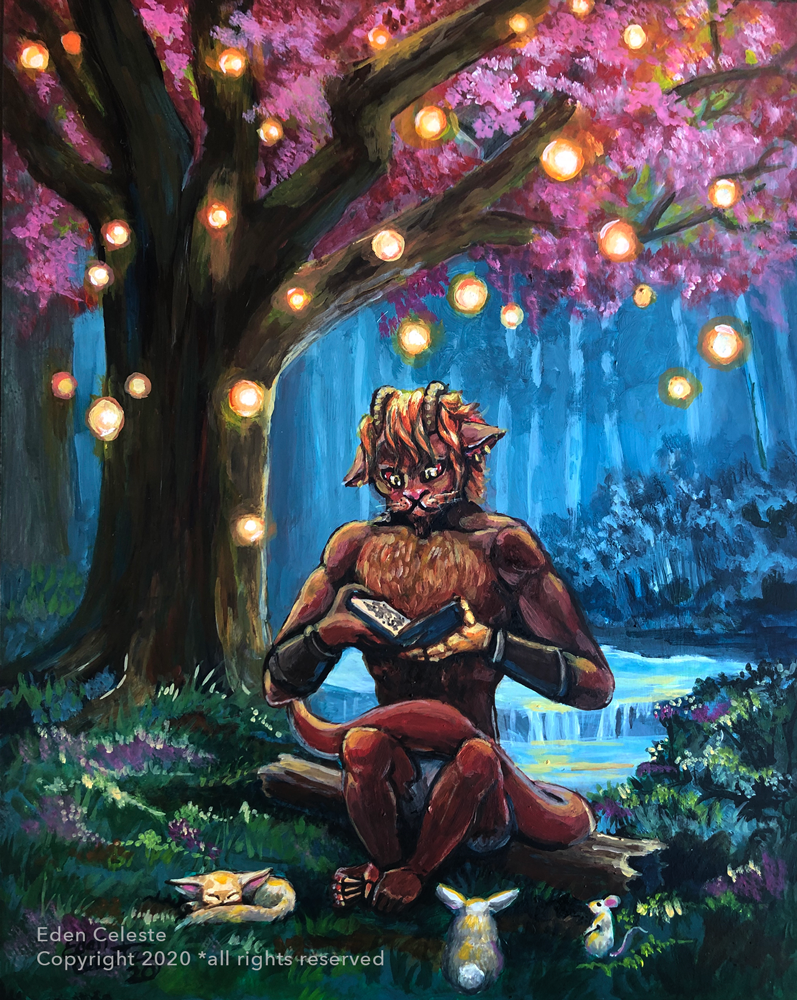
Step 8 – Ship it!
